Ski * | Exactly Discount Eiselin Ski Base Repair Set, Basepowder + Glue
$25.50 $14.96
Ski * | Exactly Discount Eiselin Ski Base Repair Set, Basepowder + Glue

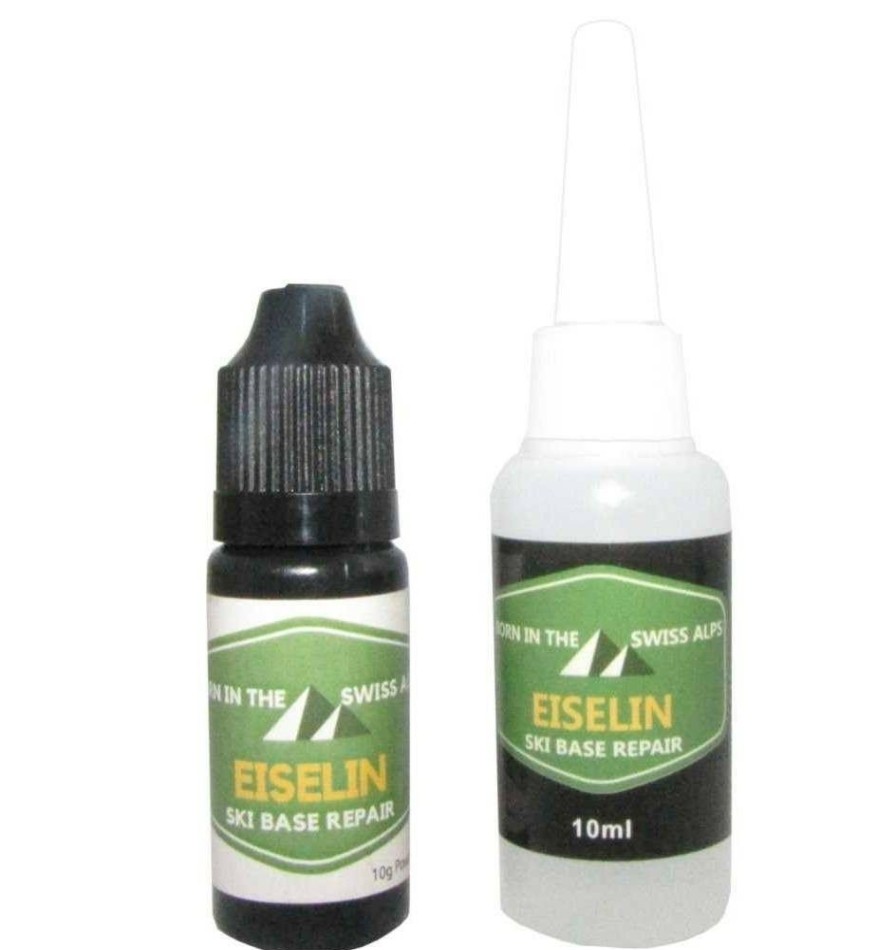
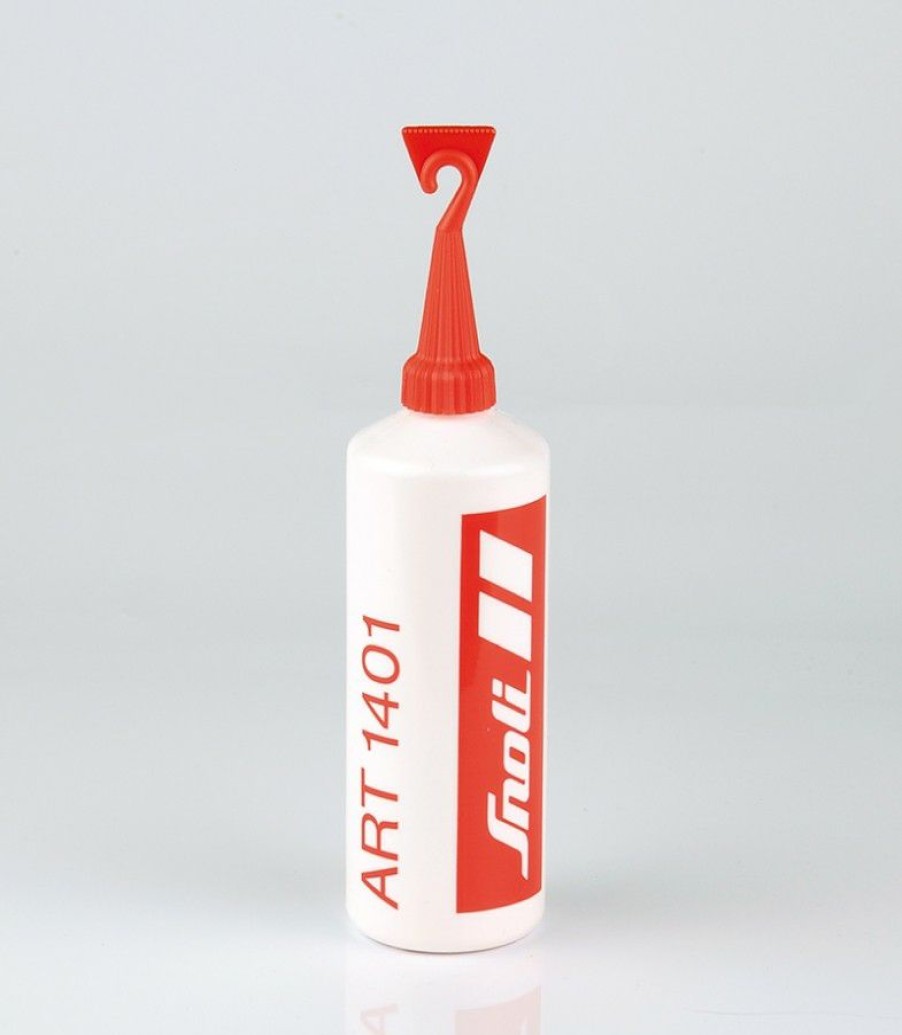
Eiselin Ski Base Repair Set Is The Easiest, Fastest, And Best Quality Way To Repair Ski And Snowboard Surfaces. Scatter The Base Powder In Scratches And Press Well. Drizzle The Topping Adhesive. Pull Off Immediately And It Is Done. Original Ski Base Material, With The Best Adhesion, Hardness, Flexibility, Cold Resistance, And Wax Absorption As Well As Sliding Properties. No Special Tools, Electricity, Fire, Or Know-How Required.
Quantity:
- Powder 10 G
- Glue 10 Ml
How To Use:
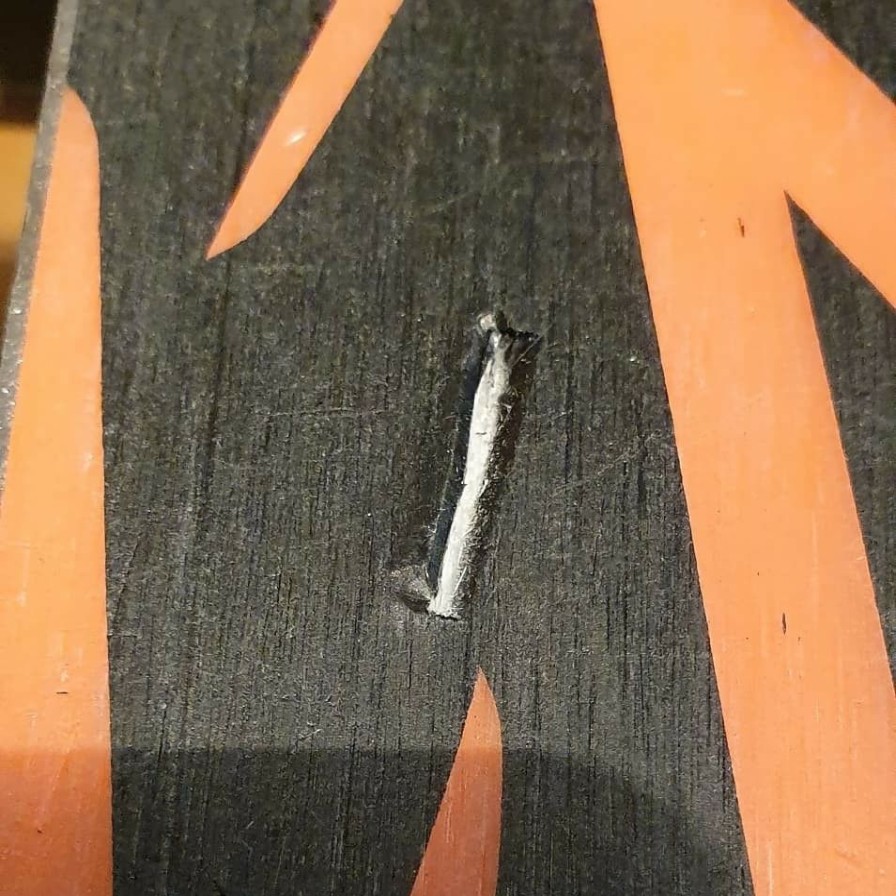
Little, Frayed Hole
- Enlarge The Hole A Little. Also Possible With A Knife. This Step Is Not Necessary If The Scratch Is Already Bigger, But Conversely, You Can Fill Up Small Scratches. Directly With Powder, You Only Have To Work A Little Finer.
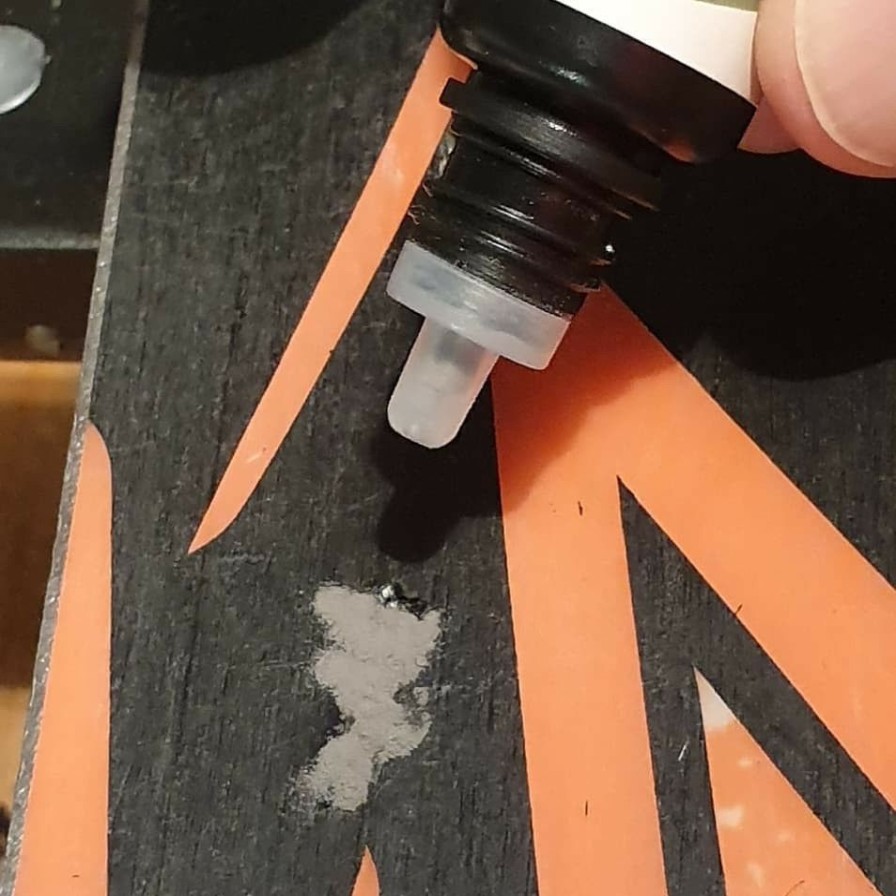
- Pour The Base Powder In The Hole.
- Press Firmly.
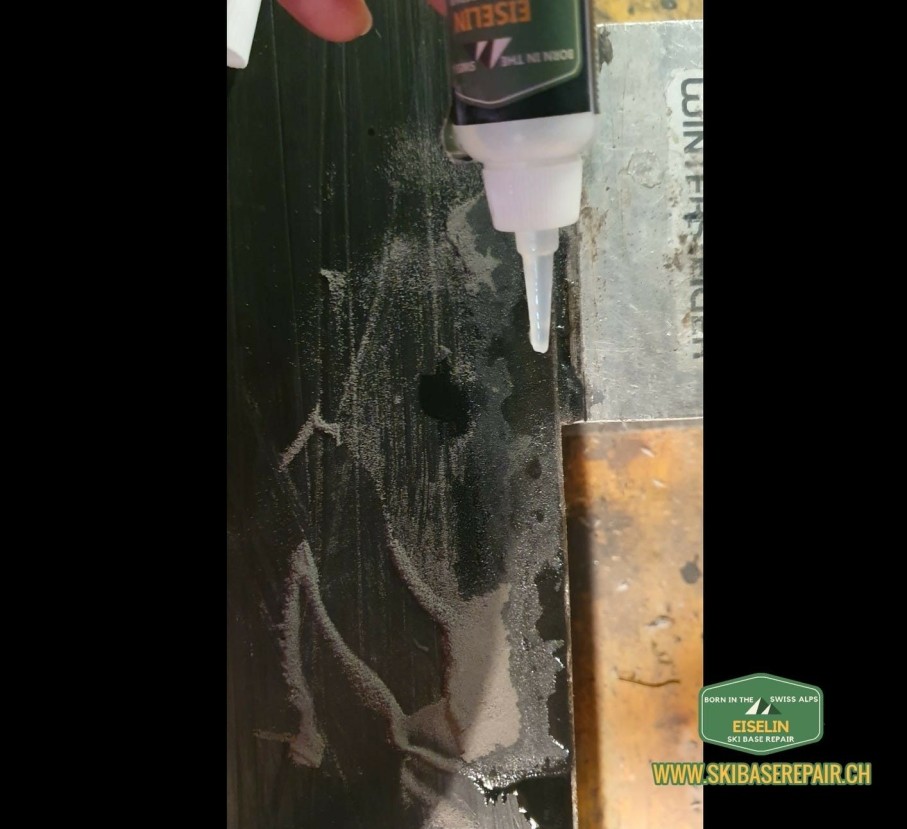
- Drip The Base Glue On The Base Powder.
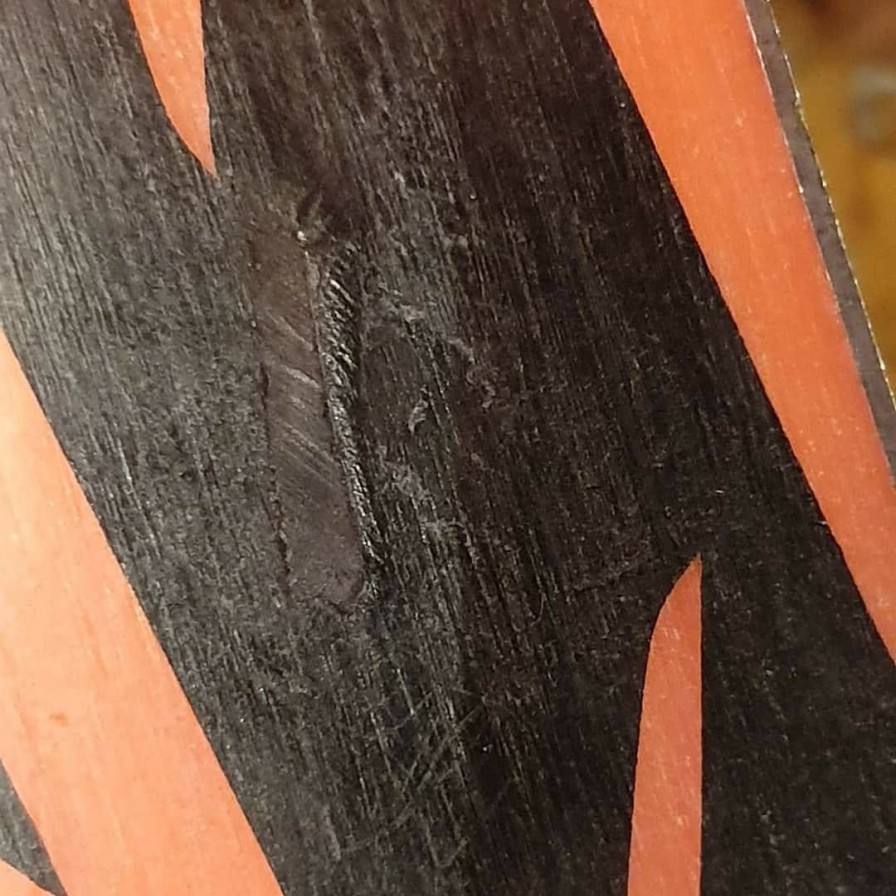
- Scrape The Base.
Details For Perfectionists
1. Flaten The Scratch With F. E. A Cutter Knife
Remove Loose Base-Parts.
Remove Loose Wood-And Fiberglass Parts Etc.
Cut The Slope Edges Of The Scratch Straight To 90 .
Flaten Bulged Base Area.
Also If It Is Heart-Breaking: Making The Scratch Deeper Will Increase The Bonding And Simplify The Handling.
2. Roughen The Scratch With Sandpaper (Only Helpful For Fine Scratches)
3. Clean And Dry The Scratch
Remove Dust Etc. With A Brush Or A Vacuum Cleaner.
Remove Grease Etc. With F. E. Acetone And Let It Dry.
The Scratch Has To Be Dry, To Continue With The Next Step.
4. Pour The Basepowder Into The Scratch An Press It Firmly
Scratches, Less Than 2Mm In Depth :
Pour The Basepowder From The Bottle Directly Into The Scratch (Fine Dust, Do Not Inhale). Fill It As Even As Possible To The Base, But Allways A Little Bit Higher An Also A Little Bit Over The Edges Of The Scratch. If You Take Too Few, The Result Can Be An Uneven Base. You Can Repair That With A Second Layer. If You Take To Much, It Can Be More Than 2Mm In Thickness, What Can Lower The Bonding In The Lowest Level Of The Repair Area.
Press The Basepowder Firmly With F. E. A Cutter Knife.
Scratches, Deeper Than 2Mm (Very Thick Bases Or Holes From The Bindings…):
Work In 2 (Or More) Layers (Otherwise, It Could Lower The Bonding In The Lowest Level Of The Repair Area. First Pour The Basepowder From The Bottle Directly Into The Scratch (Fine Dust, Do Not Inhale),
But Not Higher Than 2Mm And That Enough Space For A Second Layer Will Remain.
Than Drip The Baseglue On The Basepowder, A Few Drops Are Enough, The Basepowder Has To Be Imbued By The Baseglue. When The Basglue Drops Off, Its Enough.
Dont Inhale The Fumes. Use Only Outdoors Or In A Well-Ventilated Area.
Start With The Next Layer Immediately. For The Last Layer See Above Instructions.
5. Drip The Base Glue On The Base Powder
Drip The Base Glue On The Base Powder, A Few Drops Are Enough, The Basepowder Has To Be Imbued By The Baseglue. When The Basglue Drops Off, Its Enough. Dont Inhale The Fumes. Use Only Outdoors Or In A Well-Ventilated Area.
Dont Let Drop The Baseglue From To High To Prevent Dropholes In The Basepowder. Letting The Baseglue Flow In From The Side Can Sometimes Be Easier.
6. Scratch Off Excess Material
Scratching Can Be Started Immediately After Step 5.
To Prevent Pollutions Of Your Tools, Wipe Off The Rest From The Baseglue With A Tissue.
Scratch Off The First Layer Of Excess Material F. E. With A Cutter Knive, Or A Rough File. Take Care Off Not Damaging The Surrounding Base.
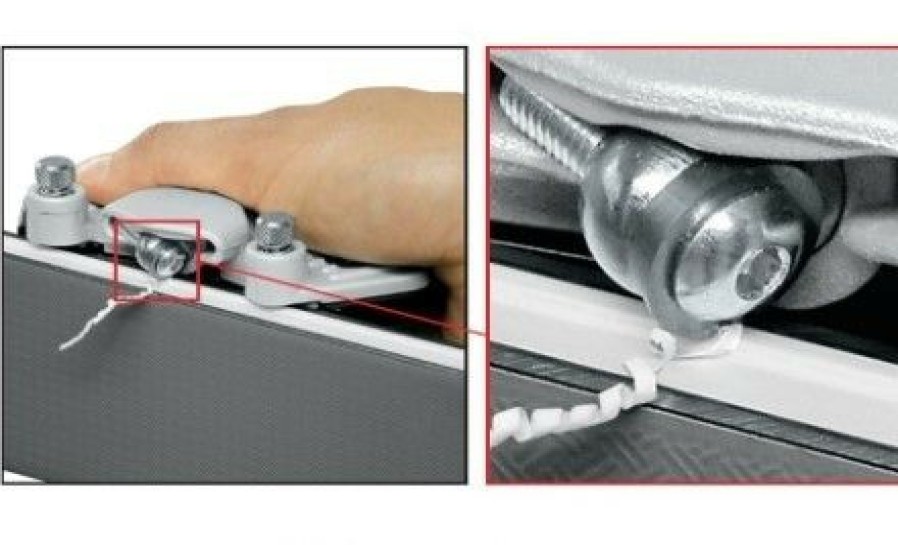
Scratch Of The Rest With Fe. E. A Metal Blade. Scratch From The Inside Of The Repair Area To The Outside. Start With Low Pressure And Step By Step Increase The Pressure, The More Even The Repair Area Gets. The Sharper Your Tool Is, The Better Finish You Will Get:
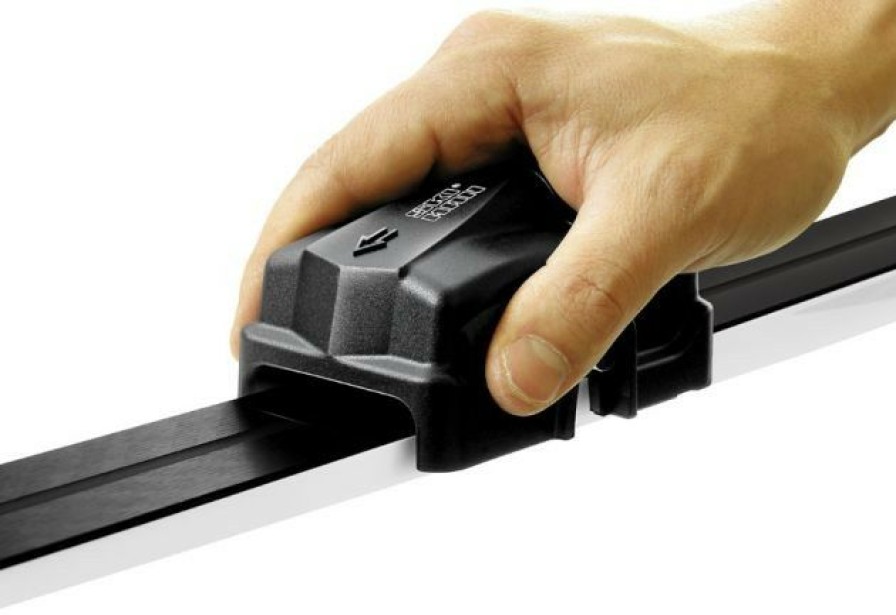
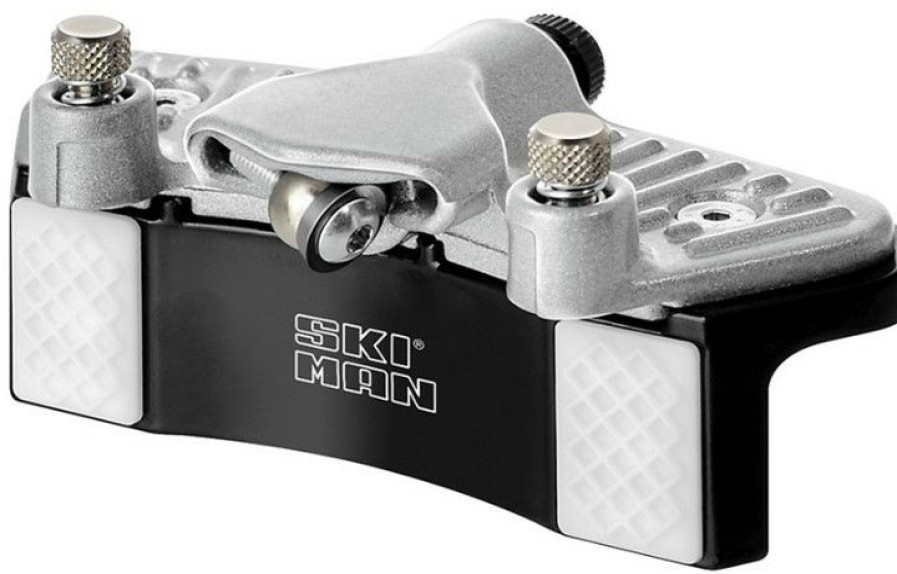
Insider Tip: With A Pull-Blade-Scraper (Available On Our Webshop) This Job (And Other Base Works) Can Be Done Perfectly.



Reviews
There are no reviews yet.